 |
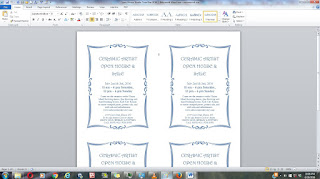
| This is the type of four flyer to page event flier we are making here. |
Occasionally, it is necessary to make a flyer for your business. And if you are anything like me, you need to mutter to yourself, trying to remember the steps to take. Here are the steps to make a four flyers per page document in Microsoft Office--Word.
First open Word, hit the "file" tab, and select "new document." For this task, we are going to use a template. And in this case, our template is in the Small Business template folder.
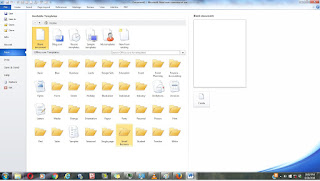 |
| Step one--get to the Small Business folder. |
Once inside the Small Business template folder, stroll down until you find the desired template. In this case, it is "Event Flyer (4-up).
 |
| Step two--select desired flyer template. |
After opening the flyer template, start editing the information fields. Do NOT turn off the Content Control--it needs to be on, so that all cells update with the desired information.
 |
| Step three--edit the information. |
After this, it is a matter of proof reading and printing.
 |
| Step four--proof read and print. |
Easy peasy--right?
[Of course, if you are anything like me, at some point in the process, you are screaming at the top of your lungs at Microsoft Word---I recommend a strong cup of tea for that.]


